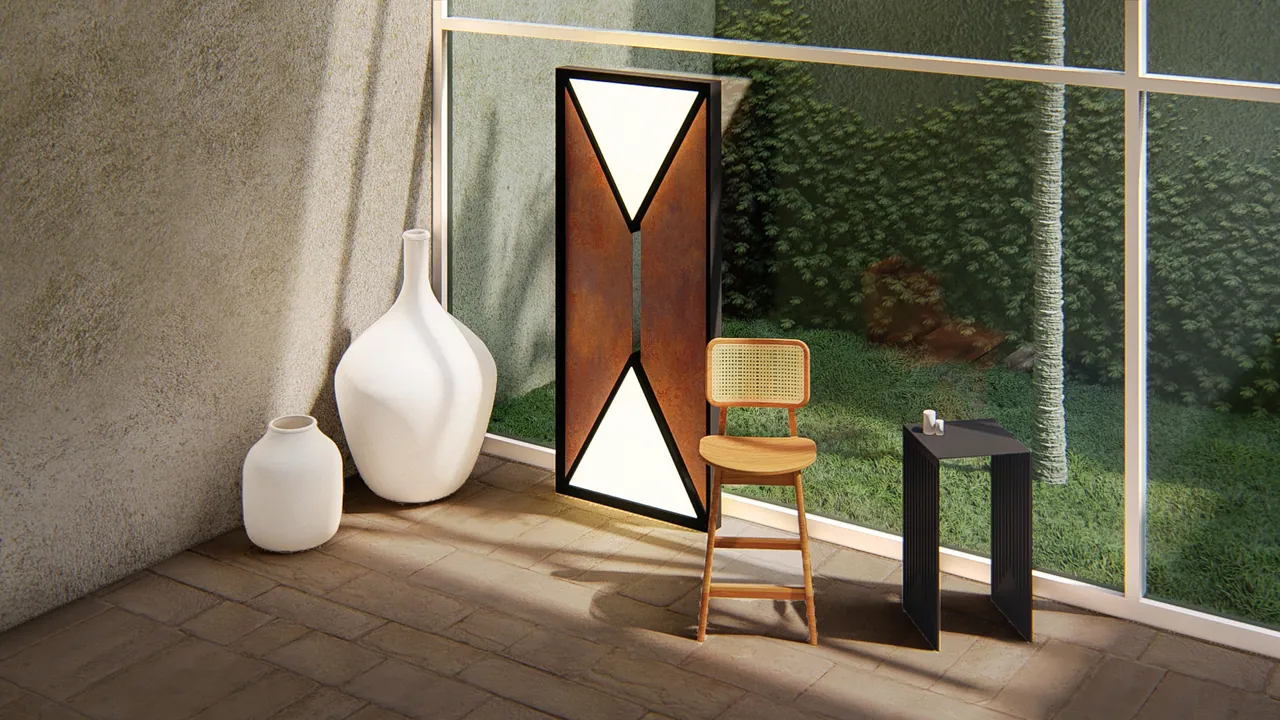
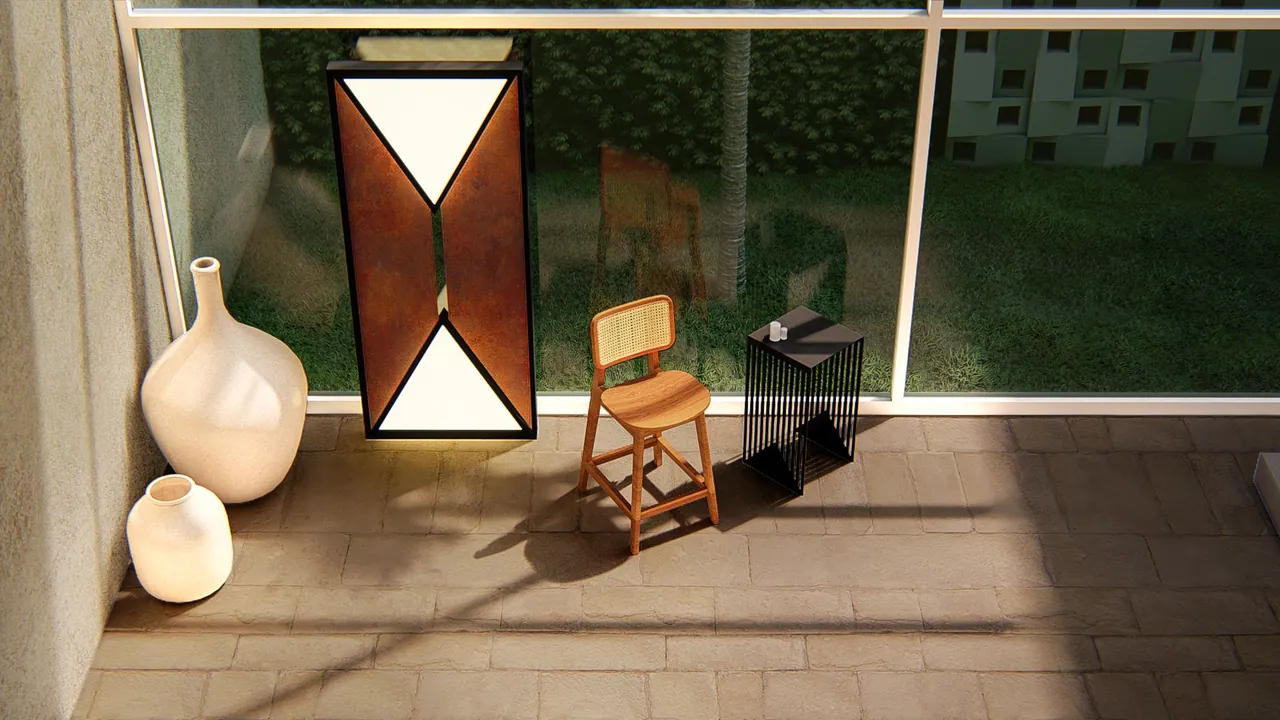
Before a render looks real, it looks like grey plaster. That grey version is called a clay render, and it is one of the most useful steps in the whole process. Below is a real project: a corten light, a cane bar stool and a slatted side table, shown first as a clay model and then as the final image.

What is a clay render?
A clay render shows the shape of a design and the way light falls on it, without any colours, materials or textures. Every surface is the same matte grey, as if the whole scene were made of unpainted clay. It is the architectural equivalent of a pencil sketch before the paint goes on.
Why we start with clay
- Form is judged without distraction. Proportions, heights and openings are easier to judge when colour is not competing for attention.
- Light and shadow are tested early. You can see where the sun reaches the floor and where a room goes dark.
- The camera is chosen on solid ground. Framing is settled before the expensive part of the work begins.
- Mistakes are cheap to fix. Moving a window in a clay image takes minutes. Moving it in a finished render means redoing finished work.
From grey to finished, step by step
1. The model. The 3D model of the design is checked against the drawings. Everything that is wrong in the geometry is wrong in the picture, so this comes first.
2. The camera. We choose the angle, the lens and the framing. This is the step where you pick from the camera options we send.
3. The light. Time of day, sun direction and the balance between daylight and artificial light set the mood of the final image.
4. The materials. This is the biggest change between the two images. The grey surfaces become weathered corten, woven cane, black steel and glass with real reflections.
5. The surroundings. Planting, ground, objects and small details are placed and styled until the scene feels lived in rather than modelled.
6. The final polish. Colour balance, depth and contrast are tuned, and every detail is checked once more against your design.
The same idea at room scale


In the wide view the clay version already tells you a lot: the double-height glass wall, the patterned screen in the courtyard, the staircase and the palm. What it cannot tell you is how the room feels. The final render adds that.
What this means for your project
When we work with clients, the clay stage is part of the camera selection. You see the views in this simple form, choose the ones you like and approve the composition before materials and lighting are finished. The result is fewer surprises and fewer rounds of changes. Our process takes about five working days from kickoff to final images.
If you have a design that needs to be seen before it is built, send us the model and we will show you how it can look. You can book a call or send the contact form, and we will reply within 24 hours.